


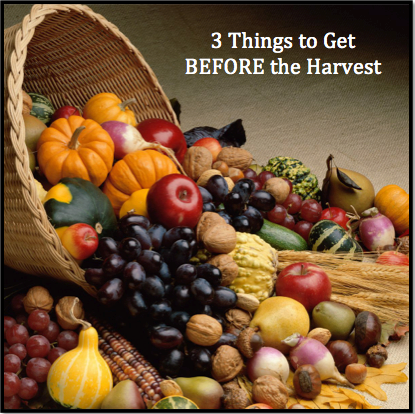
The sun is shining, the birds are singing and your garden is exploding with life! Depending on where you are in the world, you may already be harvesting the fruits (and veggies!) of your labor while others are just now seeing their seedlings turning into full plants. Either way, the harvest is coming in a few short months and now is the perfect time to ask yourself, “Am I really ready for it?”
Last year was my first go at a garden and it was wildly successful. In fact, we just opened our last jar of carrots from that harvest. I admit I giggled a little and felt a bit smug, thinking about the 5 rows of carrots already growing strong in the new 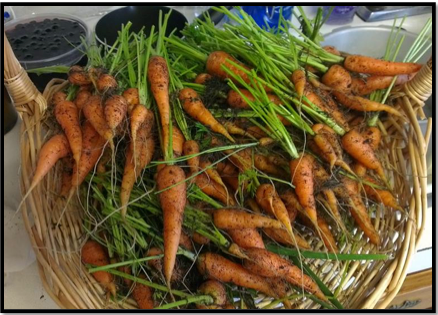 cold frame. While we ate on carrots throughout the summer (okay so it was mostly me munching when I was weeding…don’t judge me 🙂 ), the actual harvest yielded over 10 pounds and I clearly remember the excitement at seeing the basket overflowing. Right on the heels of the excitement was a moment of “Oh my goodness…this is a LOT of carrots! What am I going to do?!” I still had green beans and onions and all sorts of stuff to be harvested, this was just the carrots! ACK! It was a little overwhelming for a first time gardener. You rejoice at the success and then crash, realizing the work has only just started. Now you have to process and preserve them. If this is your first harvest, you may need some equipment. If you are a veteran gardener, you understand the importance of making sure you have the right equipment and that it is in good working order. Here are the ways I handled all of that fresh, organic food.
Dehydrate. Of course I already had the dehydrator and knew I wanted to make up some jars that had all the veggies and spices in them for a stew. I also wanted to have some on hand ‘just in case’ as a filler and to have in our short term emergency supply. I stored them in jars and vacuum sealed bags which takes me to my next method of food storage needed for the harvest.
Vacuum seal for dry and frozen storage. Some of the veggies would be frozen, of course, but who has a freezer large enough for all of it? Certainly not me, nor anyone I know! I vacuum sealed up some veggie mixes for the freezer (think stir fry!). I also used the vacuum sealer to seal up the jars of “stew starts” as I call them. Some of the dried fruit that I had done up (though not from my garden unfortunately) were vacuum sealed and put into buckets for a short term emergency storage. After about 6 months, we rotate them with fresher pouches and eat up the old (more like gobble it up, dried fruit is so sweet!). While dehydrating and vacuum sealing are all well and good, they will still leave you with a lot of veggies to be processed. This brings us to what I consider to be the most important piece of my food preservation arsenal.
Pressure canning. I absolutely love to pressure and water-bath can foods. I take great joy in pulling out the jars of colorful foods that I grew myself (usually from seed versus a start) and know exactly how it was handled. Pressure canning is intimidating to a great majority of the people I talk to. I was a little nervous the first time I did it as well but honestly, after a few experiences pressure canning is no more dangerous than chopping up food. Both activities have risks but you learn what they are and take steps to avoid them. The best part about having an actual pressure canner is that you can also use it for cooking and water-bathing jams and jellies, etc. It is multi-use and will last you for years and years if you properly take care of it.
I ended up buying a separate water-bath canning pot with a rack because I prefer to have all engines rolling when I am on 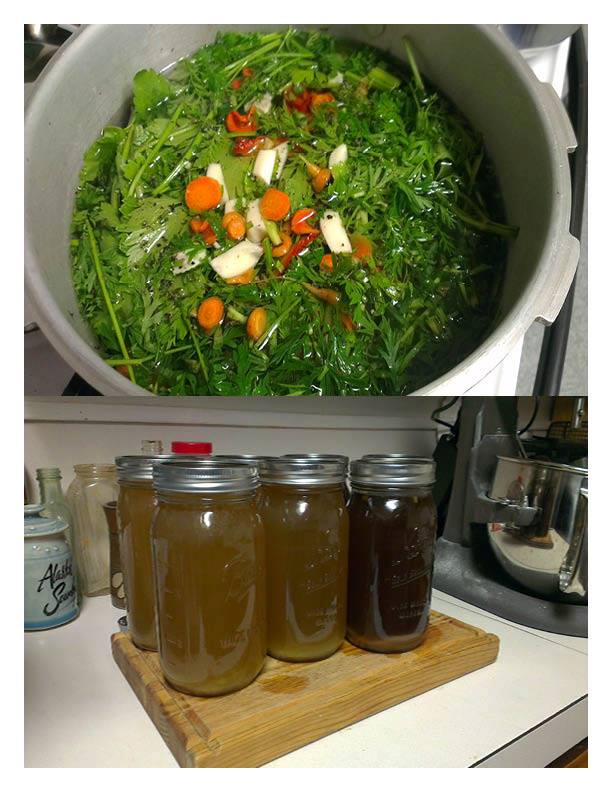 my preservation mode (meaning I like to have a water bath going while also pressure canning and dehydrating food). I got impatient waiting for one project to be done when I had 5 others waiting. I believe strongly that it will pay off this year since we expanded the garden a bit. What took me a month last year should only take about 2 good weekends this year. I also tend to make a lot of vegetable stock from my scraps and lugging out the pressure canner for it seems cumbersome.
What do YOU do to make sure you are ready for the harvest? Share your thoughts below in the comment section, I would love to hear them!
I make sure I start buyn lids, have spices ready from the garden, enough jars an whatever else I may need for the caning process
One can never have enough lids or jars in my opinion. Canning salt, too! Thanks for the comment and following along. 🙂
how do you vacuum seal canning jars with the with sealer….I would love to do that..
Hi Tessie! There is an attachment that you hook up to your machine via a hose. Not all machines have that capability. If you go back to the article, there are links that will take you to the attachments on Amazon for both wide mouth and regular mouth sized. Thanks for the comment and let me know if I can help further. 🙂